Tile Bond 2K

Two-component epoxy mortar, class R2 T in accordance with EN 12004 and RG in accordance with EN 13888, for bonding and grouting ceramic elements, ceramic and glass mosaics, marble and natural stone, both indoors and outdoors, in damp areas and when submerged.

Two-component epoxy mortar, class R2 T in accordance with EN 12004 and RG in accordance with EN 13888, for bonding and grouting ceramic elements, ceramic and glass mosaics, marble and natural stone, both indoors and outdoors, in damp areas and when submerged.

  • Excellent workability and cleanability
  • High mechanical strength and chemical resistance
  • Perfect waterproofing
  • Suitable for use as an adhesive and for grouting
  • For interior and exterior use, and on substrates subject to damp or immersion
  • Maximum colour stability

Discover more

Other solutions you might be interested in

Details

Tile Bond 2K It is a two-component, solvent-free mortar based on epoxy resins, designed for the waterproof and chemically highly resistant laying and grouting of ceramic tiles and natural stone cladding. Tile Bond 2K complies with the EN 12004 R2T standard. Mixing the two components produces a mixture with excellent workability, allowing for easy installation and effortless final cleaning. The two-component epoxy can be mixed with a variety of different colours until a uniform consistency is achieved. It is resistant to freeze-thaw cycles.

Instructions for use

Preparation of the substrate
For epoxy adhesives:
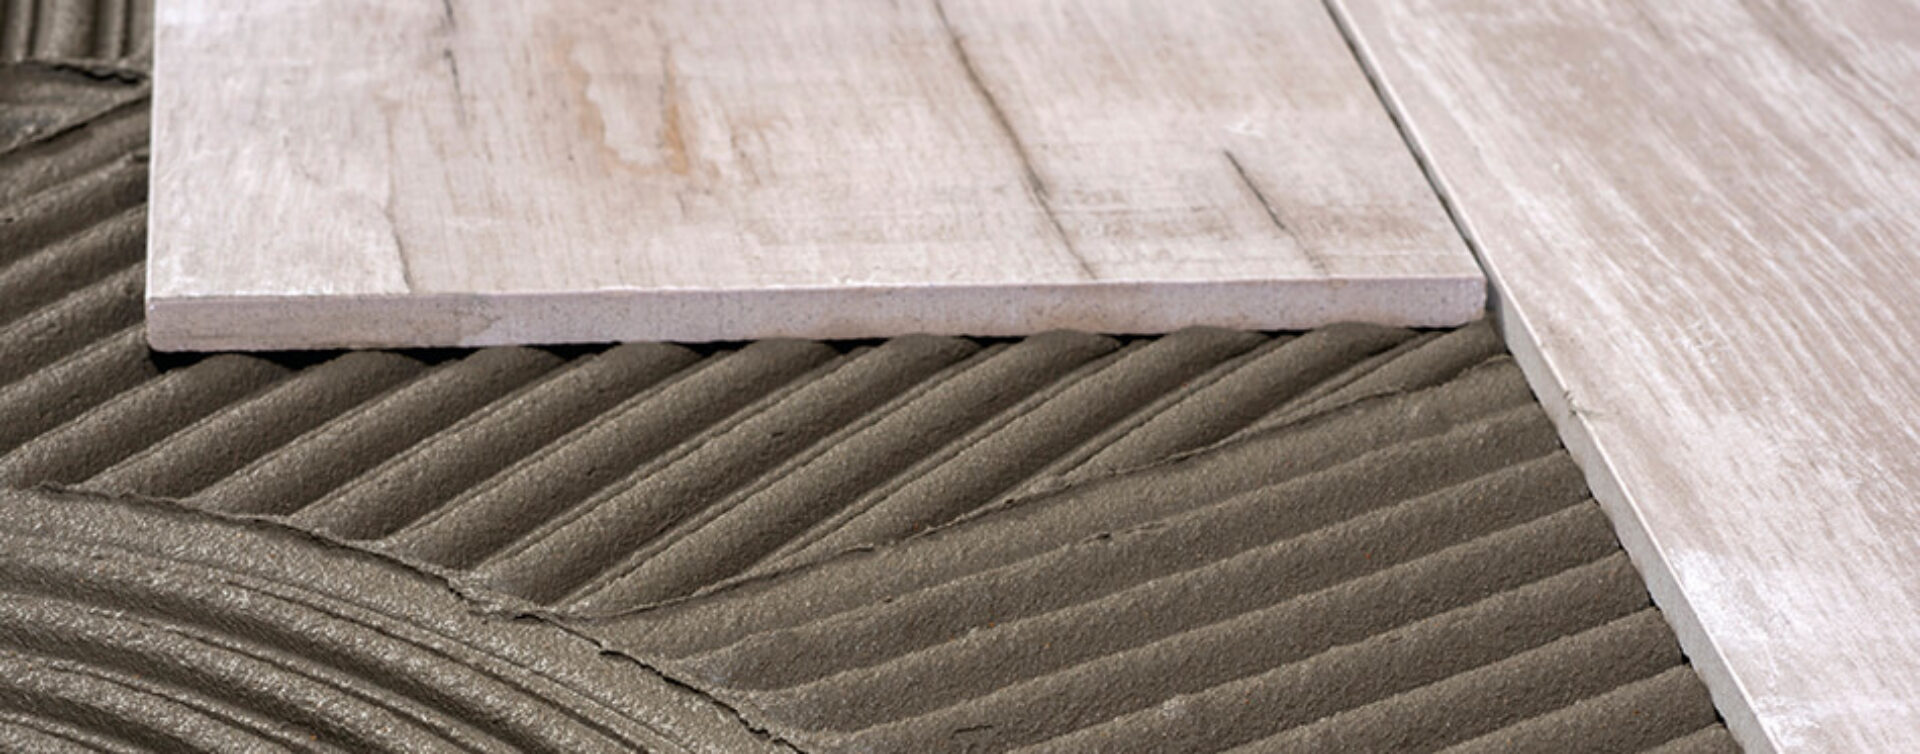
the substrate must be solid, clean and stable. Substrates made of chipboard must be free from tension. Apply the adhesive to the surface using a notched trowel, slide the tile into the adhesive bed and press down firmly. For high-stress applications and outdoor use, use the ‘buttering-floating’ technique: the mixed adhesive is spread onto the substrate with a notched trowel and then applied to the back of the tile with a trowel, levelling it flush with the raised areas. Provided that a sufficient quantity of adhesive has been applied, this ensures that the adhesive-to-tile contact extends across the entire bonding surface (an essential requirement for the installation of floor and wall coverings exposed to freeze-thaw cycles and significant water stress).

Grouting:
The tiles and tile edges must be clean and dry. Clean the joints of any debris or adhesive. When applying grout, use a hard rubber trowel, taking care to fill the joints thoroughly and level them diagonally; then remove any excess.

Installation instructions
Check the cladding material, particularly the surface, to ensure it is suitable, and follow the tile manufacturer’s instructions. To achieve a uniform colour, use tiles from the same batch number only. Before grouting, the adhesive used for installation must be dry. Wait at least 24 hours before grouting using the thin-bed laying method. Mix component A and component B with an electric mixer until a homogeneous mixture is obtained. Then transfer to another container and mix thoroughly once more. Tile Bond 2K is a thermosetting product. It is therefore advisable to decant the mixed epoxy resin into a new, clean container. This method will extend the working time.
The tiles and edges must be clean and dry. Clean the grout lines of any debris or adhesive. Fill the grout lines with grout using a hard rubber trowel, holding it at a 90° angle parallel to the tile and smoothing it diagonally, leaving as little epoxy grout as possible. Clean the tiles immediately after applying Tile Bond 2K. Grout and clean small areas. Do not attempt to cover more than one section before cleaning the tiles. For larger surfaces, it is advisable to work with several people to simplify the application. Use a non-abrasive white nylon sponge, sufficiently damp to remove any residual epoxy resin using a circular motion. Take care not to remove the epoxy resin from the grout lines. Once the initial layer of epoxy resin on the tile surface has become slightly runny, use a viscose sponge to carry out the final cleaning and to create smooth grout lines.
For large surfaces, a grouting machine is recommended. Re-emulsify any excess grout with a little water and a suitable sponge within 50 minutes, then wipe clean with a sponge or a spongy pad. If necessary, use Tile Epoxy Cleaner diluted 1:5 with water to re-emulsify.
Protect the grouted joints with epoxy resin for at least 7 days after grouting (dust, plaster dust, chemical spills and accidental spills). All these factors will affect the colour consistency and the final finish. Full chemical curing takes place after 7 days at the temperatures indicated in the technical table below.
Textured and non-slip ceramic tiles are usually grouted using an epoxy grout gun. Any remaining epoxy resin residue can be removed (after a minimum curing time of 12 hours) within the first 24 hours using undiluted Tile Epoxy Cleaner.

Cleaning of tools
Tools can be cleaned immediately with water or with Tile Epoxy Cleaner

Warnings

Do not use ‘Tile Bond 2K’:

  • If there is water on the substrate
  • If the correct mixing ratios are not observed and/or if it is diluted with water, other types of binders or solvents
  • At temperatures below +10 °C or above +25 °C
  • For grouting untreated terracotta tiles and/or on substrates that do not guarantee adequate cleanability; in such cases, a preliminary test is recommended.
  • For joints subject to movement; in such cases, use Torggler silicone sealants.
  • In situations where the intended use involves contact with strong acids and oxidising agents; therefore, for all applications where the grout may come into contact with profiles, edging, frames or substrates made of brass or copper. In such cases, the material may deteriorate and change colour, which could also affect adjacent areas or surfaces in close contact with the product itself.
  • In situations where the intended use involves exposure to UV rays.
  • Colour variations may be observed between different production batches.

Color Code Components Packaging Packaging size Barcode
Grey
8429 2 components bucket 4+1kg
Barcode 8030334084294

Tile Bond 2K It is suitable for the waterproof and chemically highly resistant laying and grouting of ceramic tiles, natural stone cladding and glass mosaic, on walls and floors, in acid-based and high-stress environments, in swimming pools and therapeutic baths, and in domestic, industrial and commercial settings. Ideal for areas such as bathrooms, showers, kitchens, swimming pools, baths, saunas, spa facilities, garages, shops, warehouses and industrial premises. Its stable consistency allows for easy installation and effortless final cleaning. The two-component epoxy must be mixed until a uniform consistency is achieved. It is resistant to freeze-thaw cycles.
Parameter Value
Compliance EN 12004 R2T
VOC 0.0 g/L
Application interior and exterior, walls and floors, submerged **
Density Approx. 1.6 kg/m³
Application temperature from +10 °C to +25 °C (substrate)
Mixing ratio 5 kg unit: 4 kg Component A + 1 kg Component B
Pot life Approximately 60 minutes**
Open time Approx. 50 minutes
Chemical resistance After approximately 7 days
Mechanical strength After approximately 7 days
Ready for cleaning / re-emulsification Approximately 50 minutes
Walkable* / ready for grouting After approximately 12 hours
Storage 18 months in a dry, sheltered environment

**Avoid the formation of air pockets during outdoor installations. Apply the adhesive to the substrate and to the back of the tiles (double-sided application).

Consumption may vary depending on the application, the type and size of the tiles, the evenness of the substrate and the width of the grout lines. As a guide, approx. 2.0–4.0 kg/m when used as an adhesive. When used for grouting, product consumption typically ranges from approx. 0.1 to approx. 2.0 kg/m.

TILE SIZE Joint width (in mm)
Dimensions (in mm) 2 5 8
20 x 20 x 4 1.3 3.2 5.1
50 x 50 x 4 0.5 1.3 2.0
100 x 100 x 6 0.4 1.0 1.5
120 x 240 x 12 0.5 1.2 1.9
200 x 200 x 10 0.3 0.8 1.3
300 × 300 × 10 0.2 0.5 0.9
400 x 400 x 10 0.2 0.4 0.6
150 x 900 x 10 0.2 0.6 1.0
600 x 1200 x 10 0.1 0.2 0.3


Technical datasheet
Safety data sheet component A
Safety data sheet component B

Still missing information?

Contact our team for personalized support and product guidance.