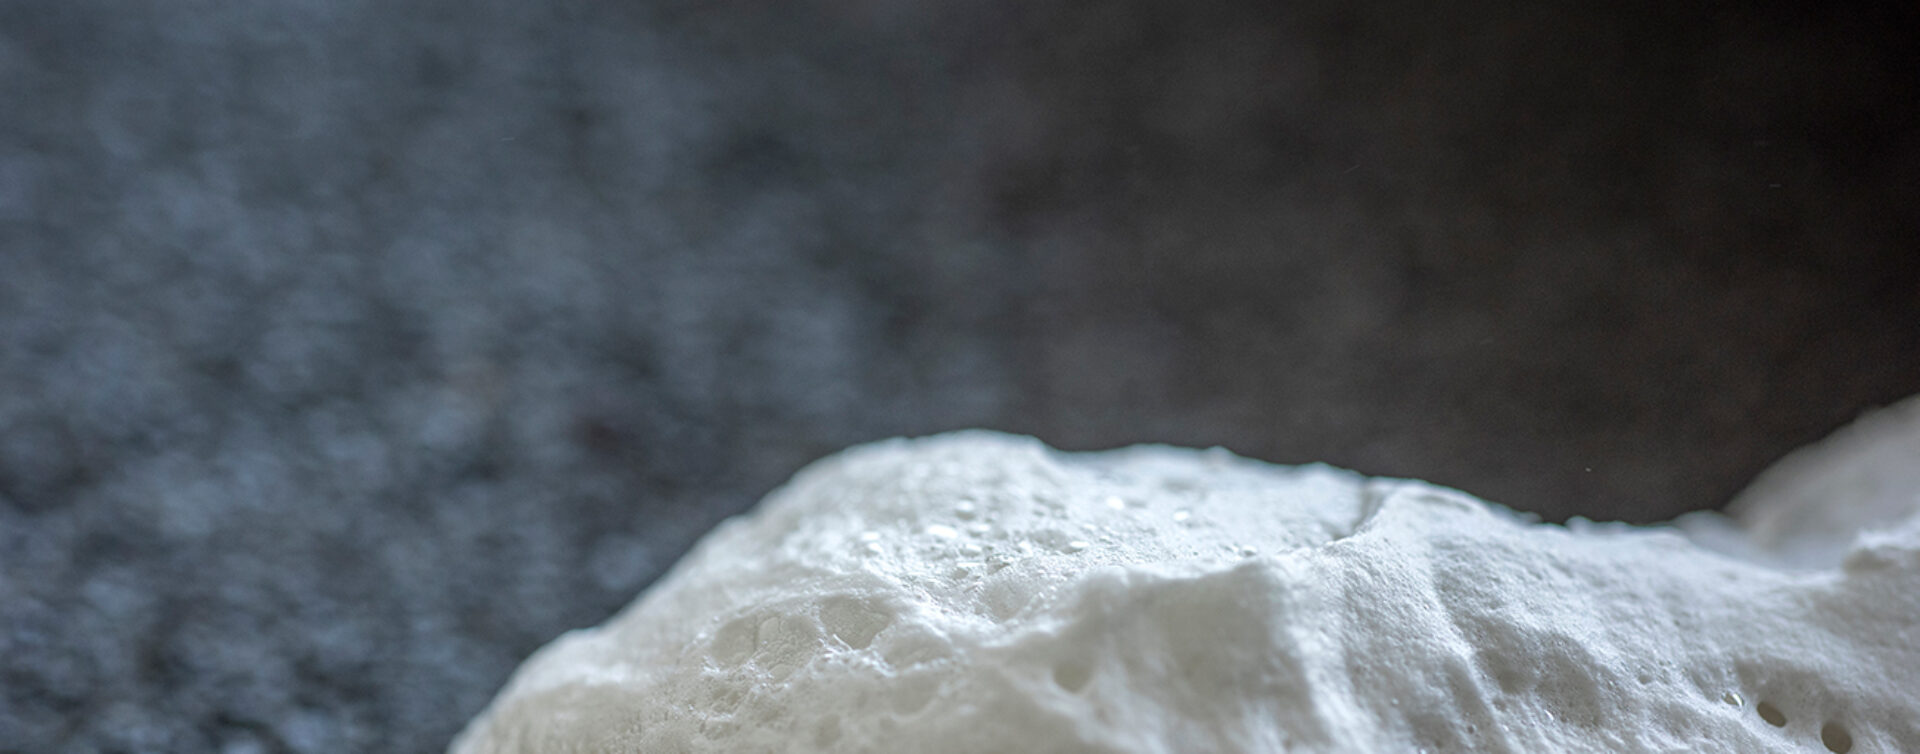
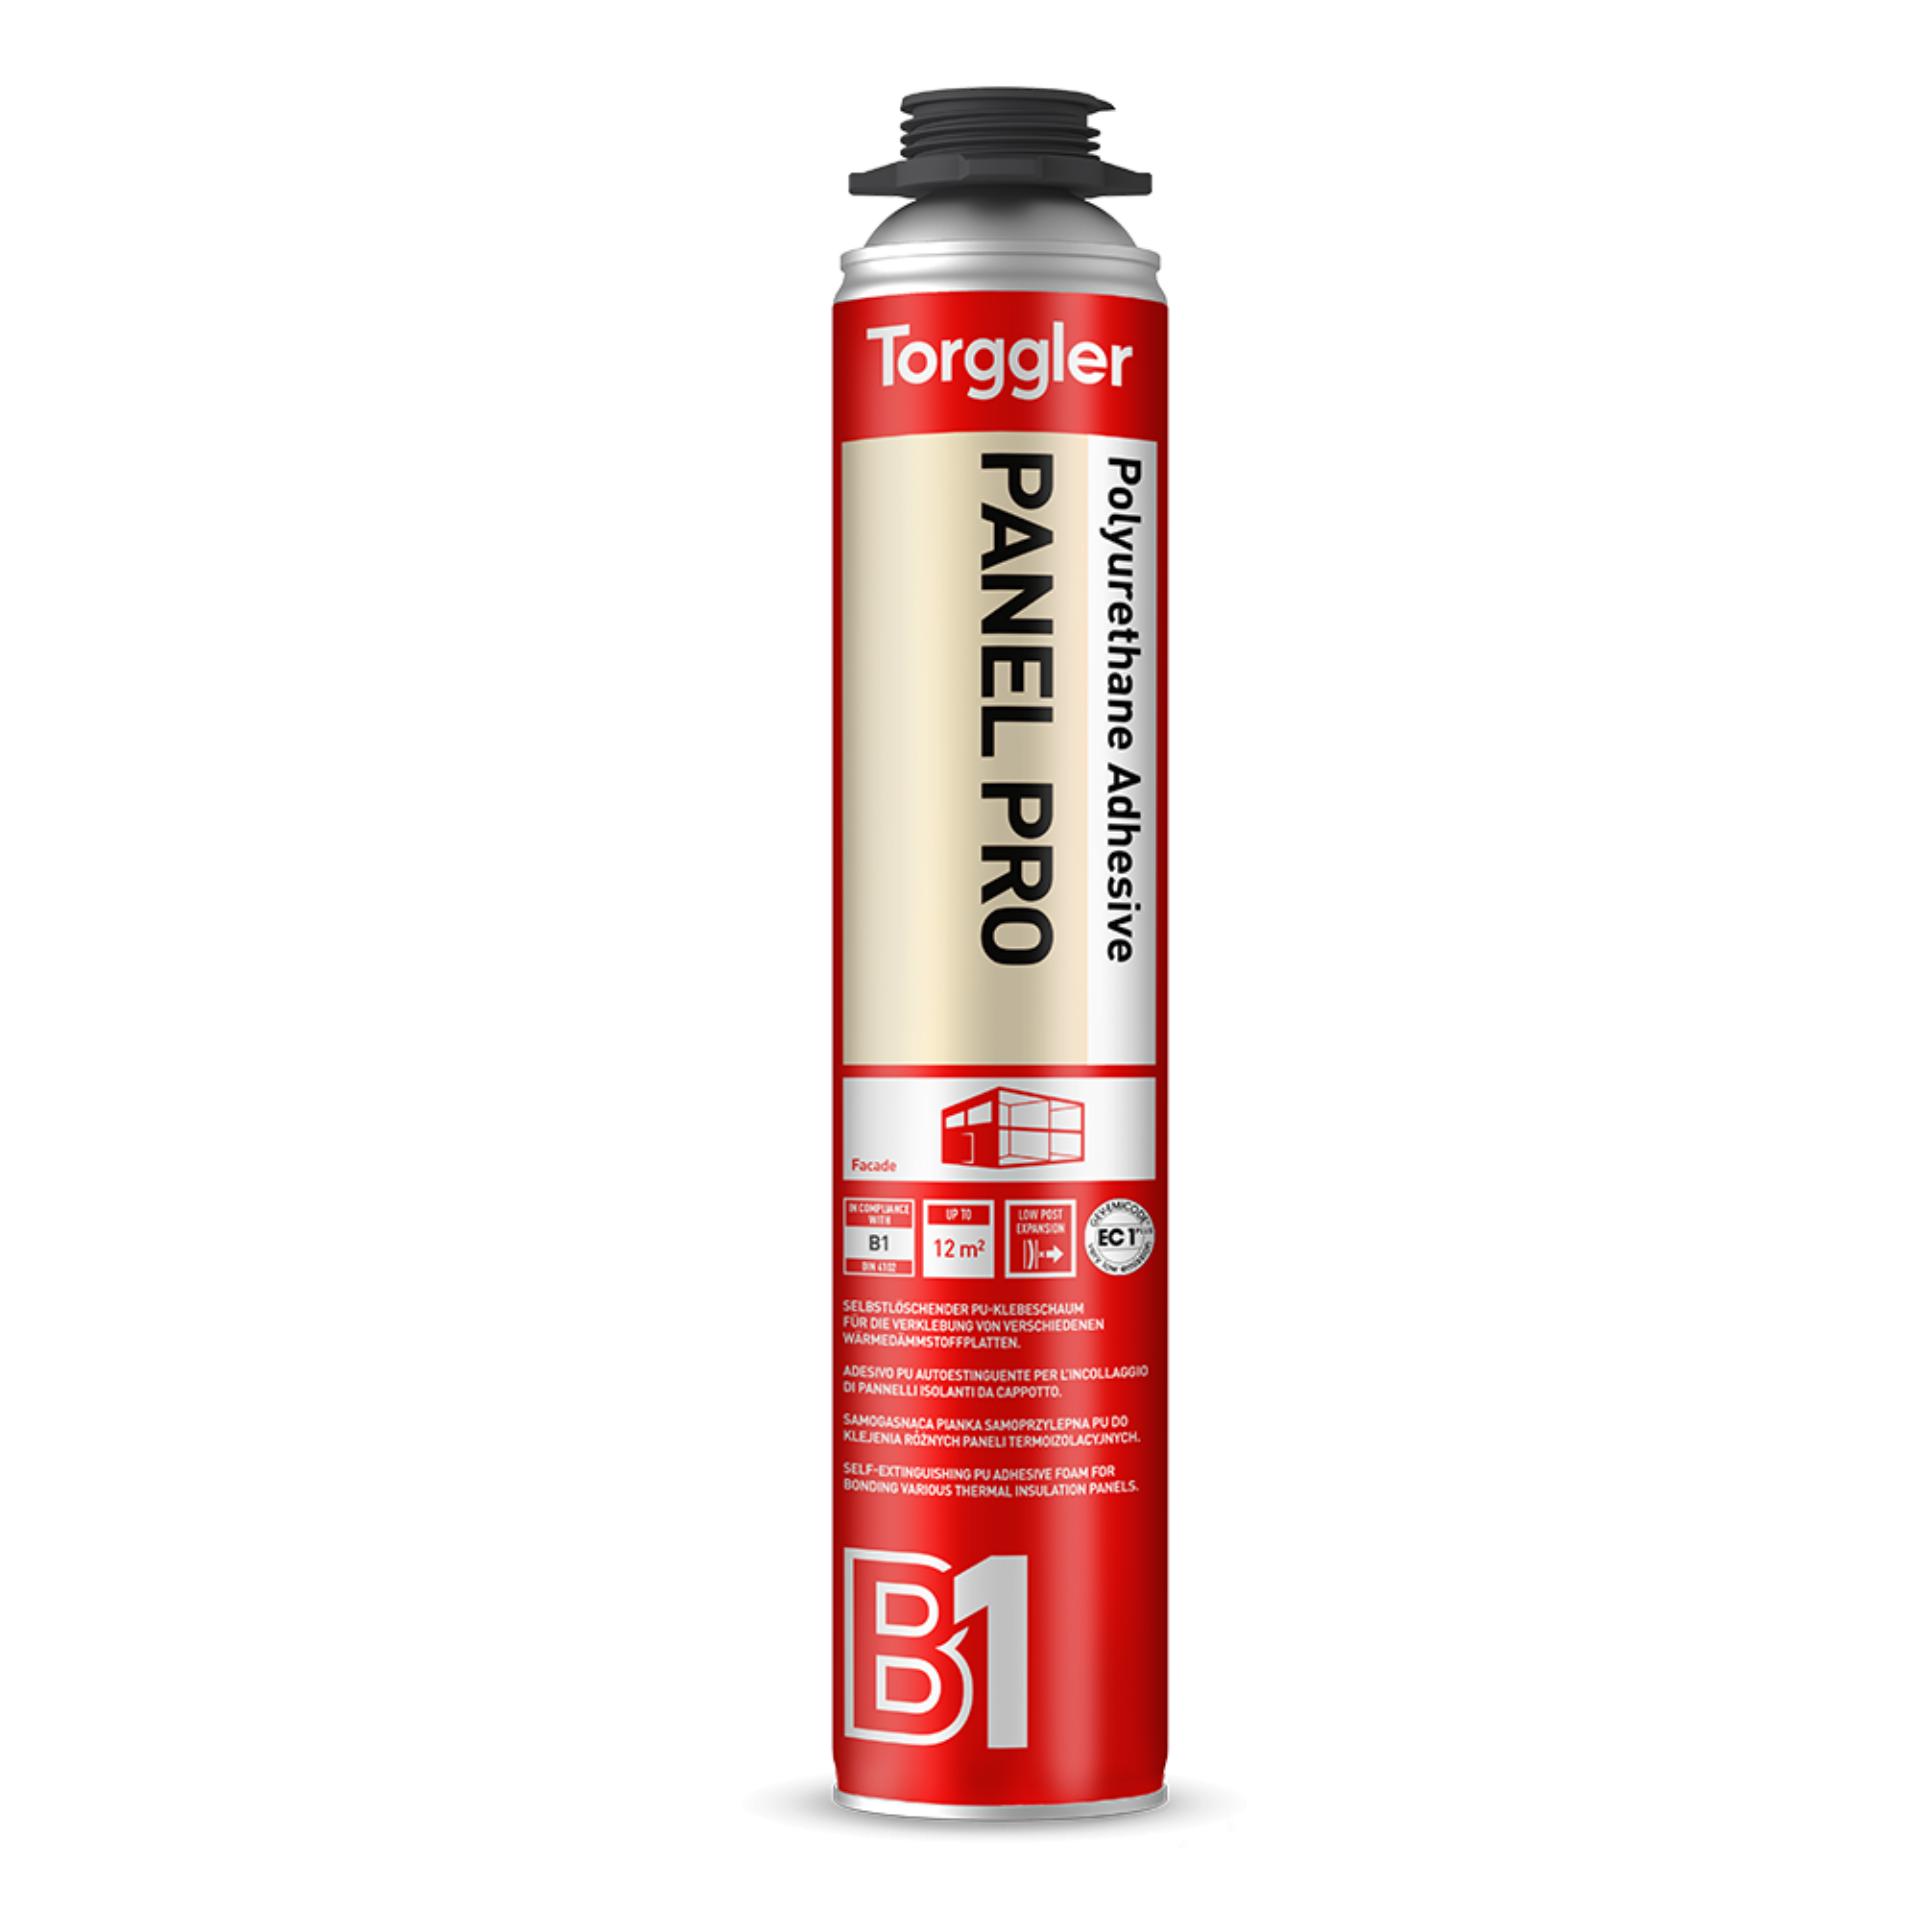
Panel Pro
Self-extinguishing PU adhesive for bonding insulation panels.
_black_")


Discover more
Self-extinguishing PU adhesive for bonding ETICS insulation boards. Thanks to the low post-expansion and the high consistency and adhesive strength of the newly applied adhesive, panels of different types and thicknesses – e.g. EPS, XPS, PU, rock or glass wool, etc. – can be installed on different types of substrate (mineral, brick, concrete, plaster, wood, metal, glass, plastic, slated membranes, aged/oxidised slated or bituminous membranes etc.) according to ETAG 004 test procedures for thermal insulation.
The substrate must be solid and consistent, free of oil, grease, and dust. Especially when applying to non-porous substrates, it is advisable to moisten the substrate beforehand to ensure that the fresh product has sufficient moisture for complete cross-linking.
Cleaning
Uncured traces of Panel Pro, for example on clothing, window frames, etc., can be removed with polyurethane foam solvent.
Once cured, the product can only be removed mechanically (by scraping or sanding). Any residue in the valve can be easily removed once it has completely cured.
Store upright in a cool place. Avoid storing horizontally at all costs, as deposits may form under the valve, irreparably compromising the extrusion of the adhesive. Panel Pro has a storage stability of at least 18 months if the cylinder is stored upright in a cool (between +15 and +25 °C) and dry place in its original sealed packaging.
Panel Pro contains flammable components and should therefore only be used in well-ventilated areas. The Panel Pro canister is a pressurized container. Read the information in the safety data sheet carefully.
| Color | Code | Application | Packaging | Packaging size | Pallet | Barcode |
|---|---|---|---|---|---|---|
| Natural yellow | 8380 | Gun application | can | 12x750 ml |
42 cardboards
|

|
| PARAMETER | VALUE |
| Fire behavior (DIN 4102-1) | B1 |
| Surface film (at +23 °C and 50% relative humidity) (MIT 87*) | 7 – 10 minutes |
| Slicing (20 mm diameter curb at +23 °C and 50% relative humidity) (MIT R/8*) | 60 minutes |
| Application temperature | from +5 °C to +40 °C |
| Storage temperature | from +10 °C to +20 °C |
| Operating temperature | from -40 °C to +120 °C |
| Density (after contrast expansion) (MIT 50*) | 19–24 kg/m3 |
| Yield (free expansion) | 47 l |
| Surface area of panels laid | 12 m2 |
| Curbstone consumption (3x3cm) | 18 lm |
| Post-expansion | 18 -20% |
| Withdrawal after hardening | <5% |
| Water resistance | excellent |
| Resistance to detergents | excellent |
| Resistance to chemical agents | good |
| UV resistance | poor, tends to yellow |
| Resistance to microorganisms | excellent |
* Torggler Internal Methods (MIT) are available upon request.
The yield of the adhesive depends largely on the temperature of the cylinder and the environment. At low temperatures, the product comes out of the valve at a much lower pressure and the yield is also lower. For a good yield – up to 12 square meters of insulation panels laid – a cylinder temperature of around +20 °C is recommended.
Contact our team for personalized support and product guidance.